One handed bag holder
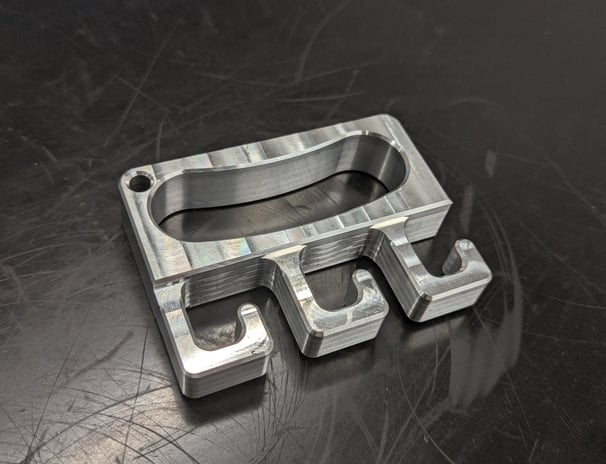
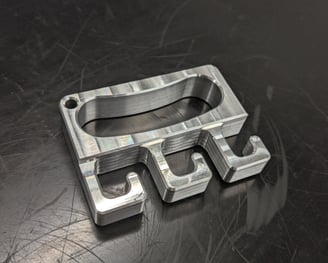
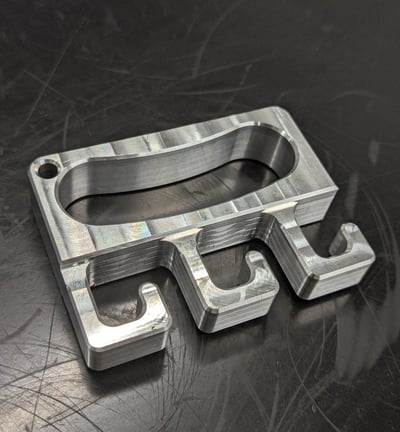
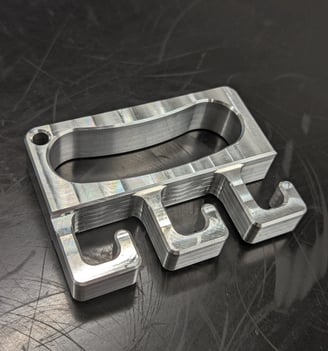
final product
This product was designed to hold 3 grocery bags with one hand. The part was made out of machinable aluminum on the CNC mill. The following article will outline the process of machining this part.
First setup
The stock material was clamped into the vice resting on a pair of parallels (not pictured) such that the stock was perfectly flush against the bottom surface. The facing operations were programmed to stop at a depth above the jaws so the mill bit did not hit the vice jaws. We chose to clamp the part lengthwise as we still had material in the bottom surface where it is being held by the vice, so vibrations and deflection of the part were not a problem in this first setup.
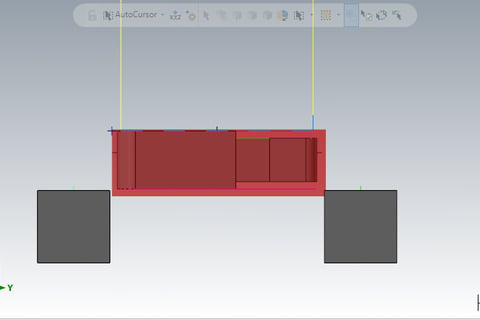
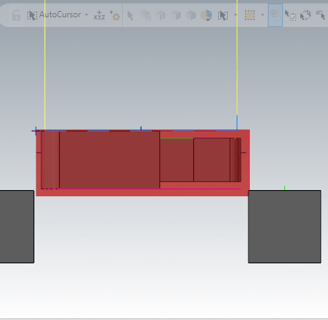
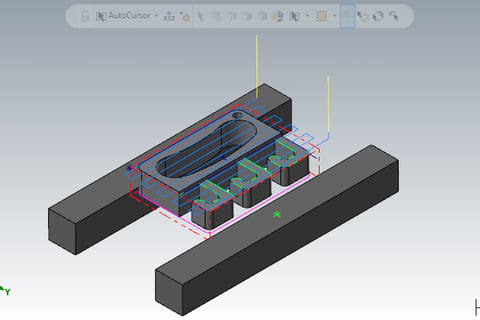
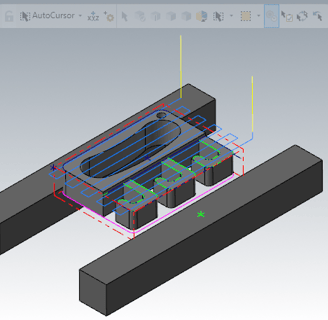
The part required two setups to mill the top and bottom geometry from the stock material. This is necessary as the stock material is held by a vice which means the bottom surface can not be cut by the mill bit. Once the part is flipped, the mill must be indexed to existing geometry on the part as the part would have moved from its original position. For this part, a hole was drilled in the top right corner so that after flipping, the mill could be zeroed to a pin placed in the hole. Operations following in the second setup were based on this zero.
The first operation was a facing operation on all 5 exposed surfaces to ensure the stock material was exactly the right size. This is important since the stock material is not a perfect cuboid so as it rests on the parallels, the stock may not be perfectly flat relative to the mililng machine. This consisted of a top facing operation (top) and a contour facing operation on the sides of the stock to the deopth of the jaws (bottom). These two operations were performed using a 1/2 in surface end mill.
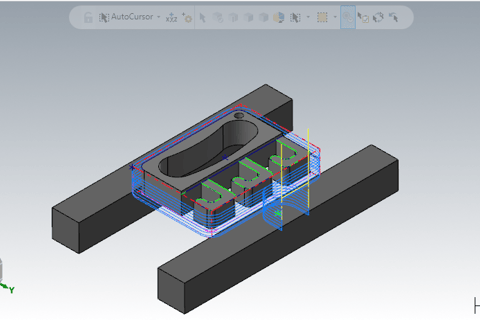
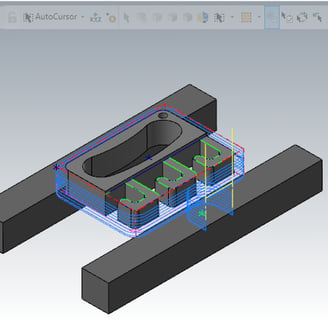
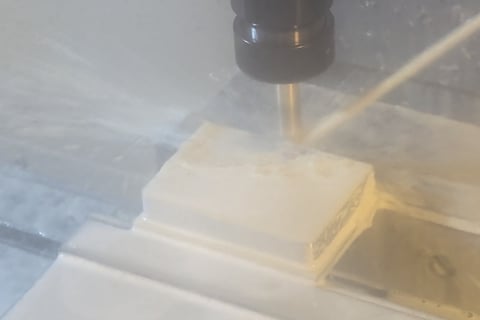
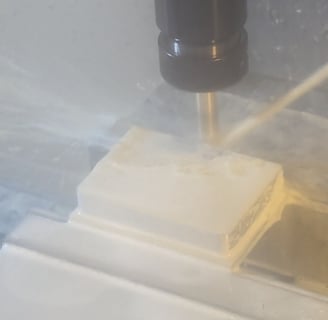
Next, a contouring operation was performed on the hooks to get a step down from the top surface. This was done using a multi pass contour up to the bottom edge of the handle such that the machine approached from the bottom edge and did 3 passes of roughing and finishing. Although this seems like a facing operation, a multi-pass countouring operation must be used or else the path of the mill would intersect the handle and wouldnt just stop at the bottom edge of the handle.
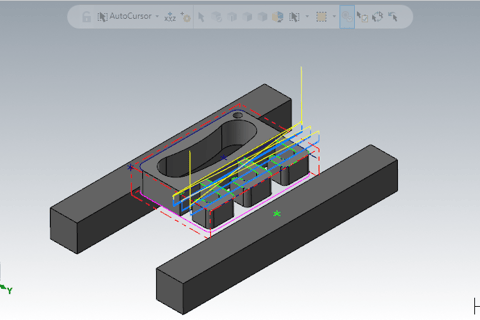
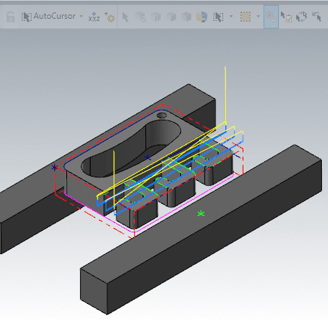
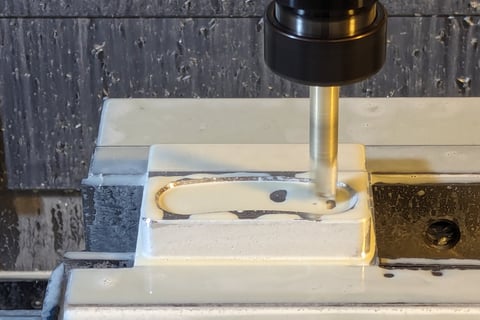
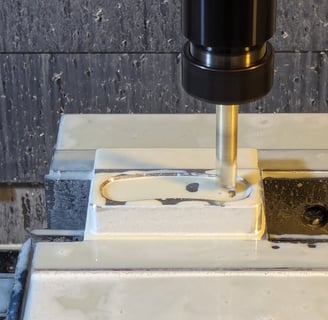
Next, a pocketing operation was done to cut out the handle of the bag holder. The 1/2 in surface end mill did a roughing cut and a finishing pass on the inner edge of the handle down to the same depth as the previous operations. A helix approach was used at every step deeper down in the pocketing operation. This is done because the end mill is not a center cutting end mill so it can only cut using the outer edge of the bit. Therefore, the mill must plunge down in a spiral to ensure only the outer edge is engaged with the stock material.
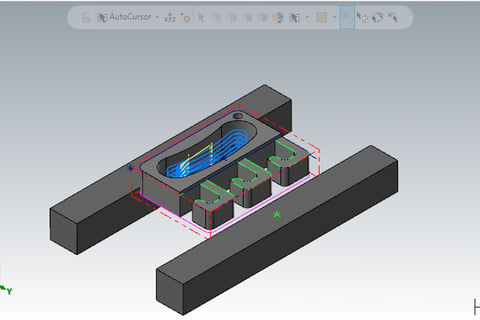
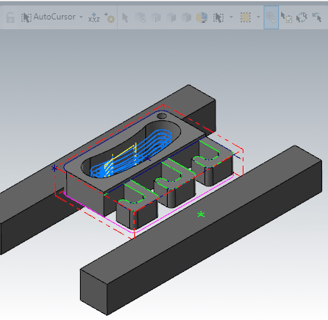
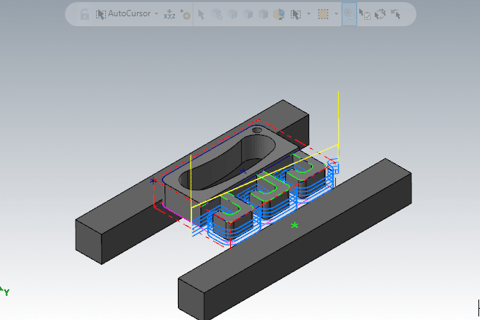
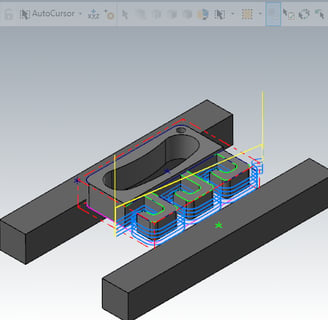
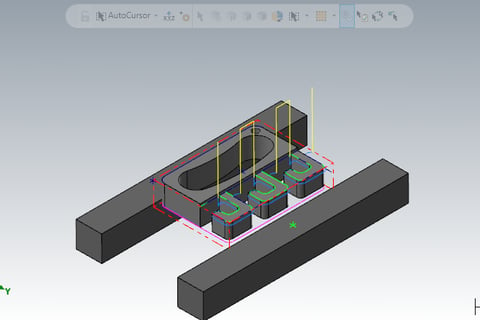
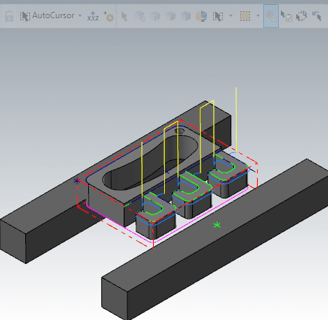
Next, the hooks were cut form the stock using a contouring operation and a chamfering operation on the top edge of the hooks. This was done by creating a wireframe along the edges of the hooks in mastercam and using a 3/8 in surface end mill to along that line. A chamfering operation was also done on on the top edge of the hooks to eliminate the sharp corner and any burrs from the edge. In my file, I put the chamfering operation before the contouring operation which meant the 1/4 in chamfering tool was forced to cut all the material from the stock instead of just the edge if it was placed after the contouring operation. This resulted in worse surface quality as the bit was subject to higher loading and thus had more vibrations. In future, these two operations would be flipped.
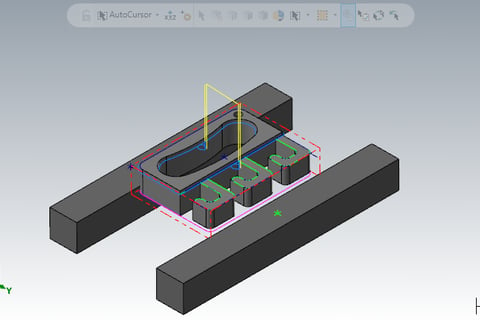
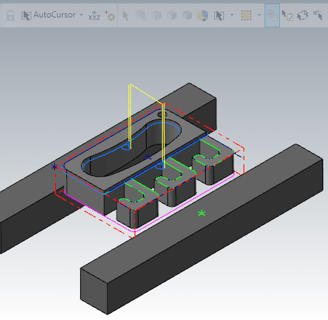
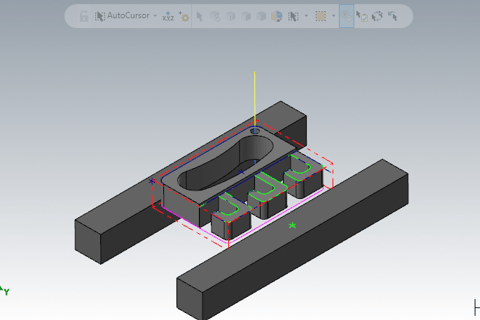
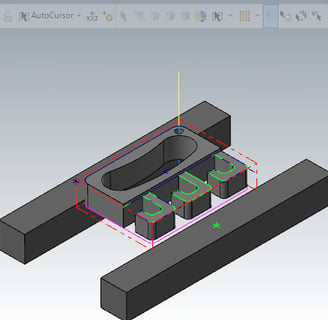
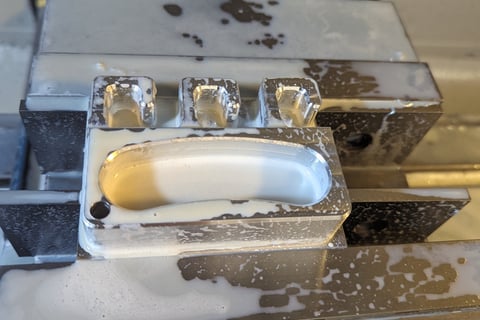
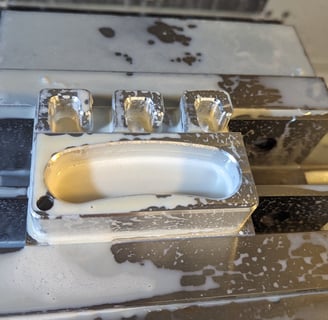
Finally, a hole was cut on the top right corner using a 1/4 in centering tool with a drilling operation, then using a 1/4 in drill bit with a peck drill operation. The hole was drilled all the way through the material so that the hole could be used as an index when the part was flipped over. All operations in the second setup would reference this hole as the zero.
In the image you can see the bottom surface is still present in the jaws as the surface end mill did not plunge through the whole stock during the pocketing operation. This is important as the alumninum would have started to deflect under the pressure of the vice and the material would have moved in the jaws. you can see the parallels had moved from the bottom of the part in the image on the left. This implies that we either did not tamp the part down hard enough when we were clamping the stock into the jaws, or not enough material was left on the bottom of the part so it started to deflect, then the vibrations were enough to dislodge the parallel.
Second setup
The second set up repeated the steps in the first setup on the bottom surface. As seen in where the axis is placed in the right video, all operations were indexed to the hole.
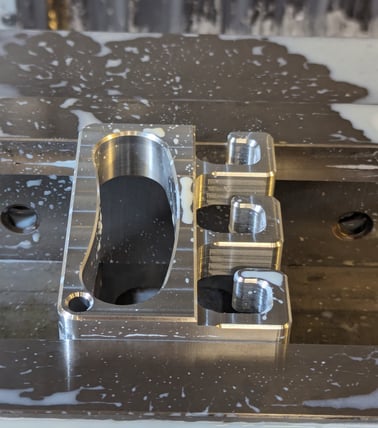
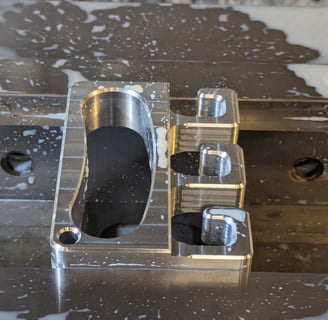
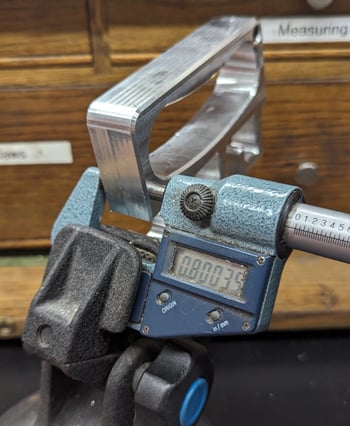
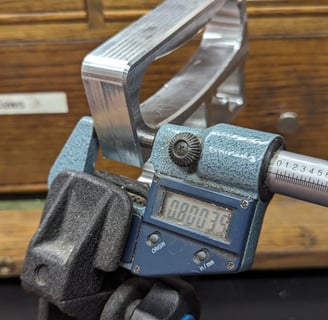
Pictured on the left is the finished part. The part was accurate to 0.0004in of tolerance as seen by the micrometer measurement on the left.
Final piece
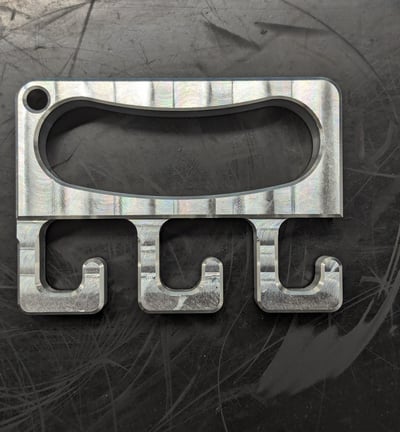
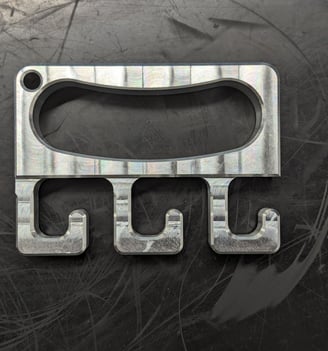


Note: While I do not condone this to be used as brass knuckles, you could totally whoop some ass with these.
